
Flat-felled seams are often a lot of time-consuming bother when you sew the way taught in home-sewing books. There's far too much sew-and-trim involved for my liking, and you just know they don't sit there in factories doing that -- it takes too long and costs too much.
Two Ways to Sew a Flat-Felled Seam Without Trimming
The first method shown on this post is a sort of step between home sewing and industrial methods. You can do it with a felling foot or lap seam foot that you may have for your sewing machine, or you can do it with whatever presser foot/feet you have. The final width of the seam is about 2/3 the width of the seam allowances.
The second method is based on the seams sewn by single-pass double needle felled seam sewing machines that you find in denim factories. It results in a flatter seam, which can help with bulky fabrics. It's also how you sew the crotch seam below the fly zip in jeans (which we'll get to in a later project). The final width of the seam is the same as the seam allowances. I think you could do this with a special foot, but I haven't tested it (because I don't have one). Any foot with a guide would help though, so you could use your blind-hem or edge-stitching foot.
Why do it this way?
There are four main benefits:
- The fell is actually centred this way, creating a more symmetrical garment.
- Your front and back felled seams will match on the crotch of trousers, like in RTW, which makes adjusting lengths easier if that is ever necessary.
- You can have the same seam allowance on both pattern pieces.
- No annoying trimming of seam allowances.
How to Sew a Flat-Felled Seam, Version 1
Suitable for light to medium weight fabrics
This assumes you have 15 mm (5/8") seam allowances. This can be done with or without a special Lapped Seam/Felling Foot. This way results in a 1 cm (3/8") wide seam.
A narrower seam (for lighter fabrics) can be made by using narrower seam allowances. If you would like a narrow 1/4" (7 mm) seam, you can use 3/8" (1 cm) seam allowances, off-setting at 5 mm and stitching at 12 mm from the widest edge.
If you would like the normal 12 mm (1/2") seam as you find on RTW jeans, use 12 mm seam allowances, off-setting by 6 mm and stitching at 15 mm from the widest edge.
If you want one line of visible stitching, start RS together. If you want two lines of visible stitching, start WS together.
- Lay one piece over the other, offsetting by 1 cm (3/8"). Make sure they match at the beginning and end of the seam. This may mean stretching one slightly to fit if you are sewing a curved seamline, like the crutch in jeans. That's fine. You'd have to fiddle with the fabric however you sewed a felled seam.
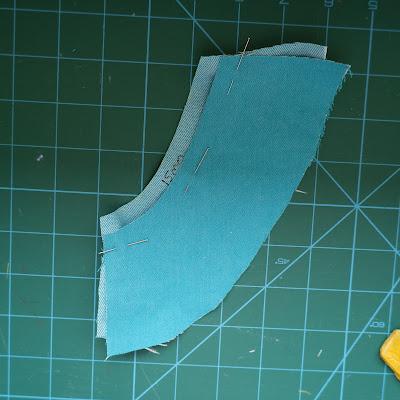
- Sew the first pass of the seam, 2 cm from the further edge, and 1 cm from the closer one.
- Press the seam if you wish. This can be helpful with difficult fabrics.
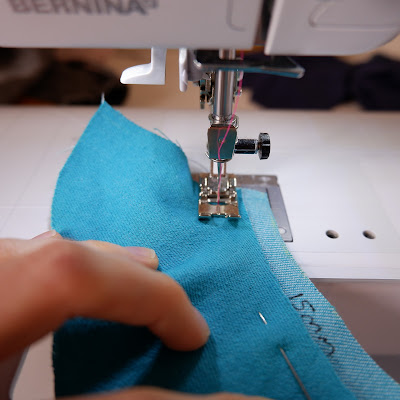
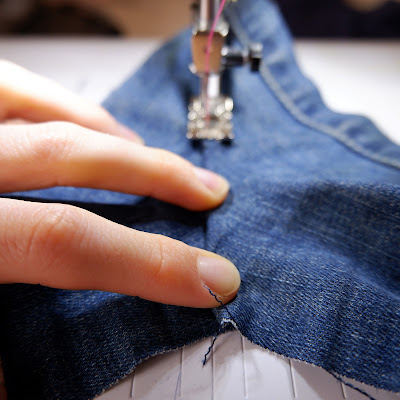
- Wrap the wider seam allowance snugly round the smaller one so the the raw edge is against the first stitching line. This is where your felled seam / lapped seam foot comes into its own.

- Stitch this fold down, 1.5 mm (1/16") from the fold. Keep the seam pulled flat, almost as if you're trying to pull it apart. It helps to claw at it with your nails.

- Done.

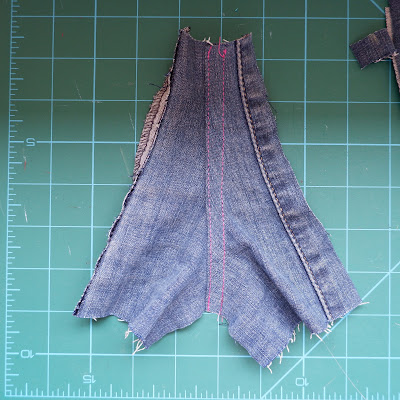
You can see here that the original seam line is centred between the lines of stitching (except in the middle where I went slightly askew. Shhh!!!) 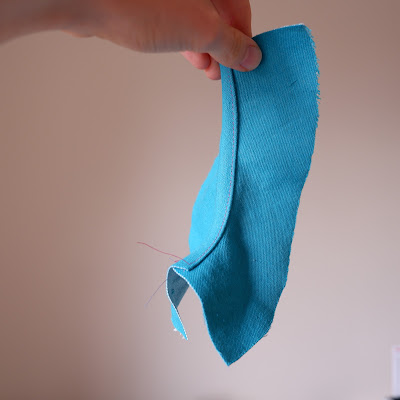
The Final Flat-Felled Seam from the RS 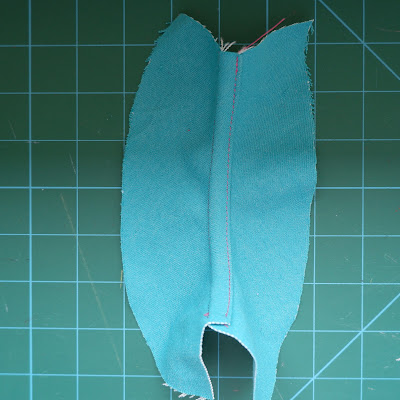


How to Sew a Flat-Felled Seam, Version 2
Suitable for thicker fabrics
This version results in a 10 mm (3/8") wide seam and uses 10 mm seam allowances. You can make a wider one by making larger seam allowances. The final seam will be as wide as the seam allowances. If you would like a standard 12 mm (1/2") seam as you find on RTW jeans, use 12 mm seam allowances. For narrower than that, I'd recommend using Version 1 of this seam so that you get a strong bite on the fabric.
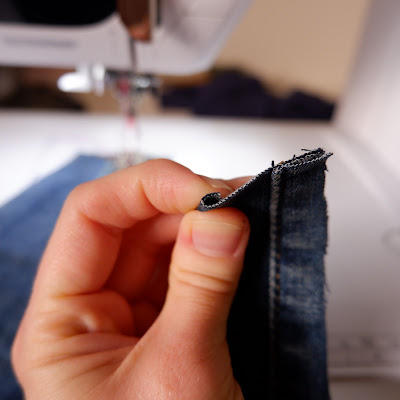
- Turn one seam allowance half under, i.e. by 5 mm (scant 1/4").
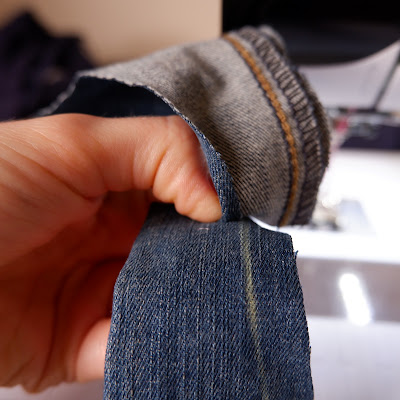
- Lay it WS down on the other garment piece, which is RS up (so it looks as it will when finished), with the zero line (e.g. CB) matched. Viz. with 1 cm of the under-piece extending beyond the raw edge of the top piece.
- Stitch down 1.5 mm (1/16") from the fold, keeping the seam allowances consistent, and making sure the seams match at the ends.
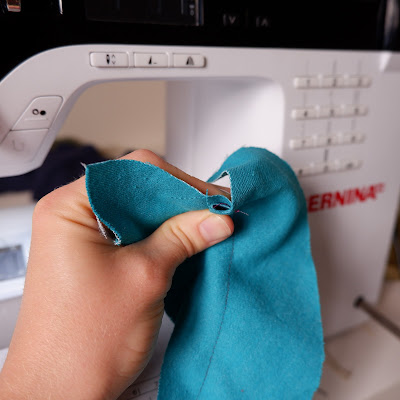
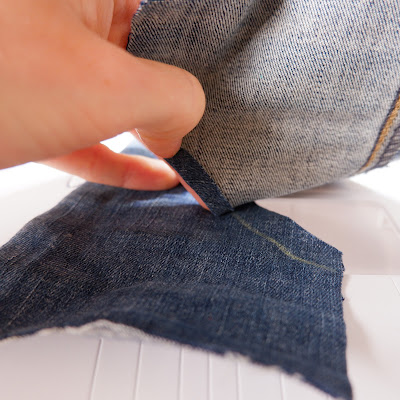
- Turn the garment the other way up so that you're looking at the inside.
- Fold the wider raw edge half under (i.e. 5 mm) under so that the raw edges are touching.

- Stitch down as with the first pass.

- Done.


Notes
If you're sewing very thick or springy fabric, you may have to use slightly wider seam allowances to allow for turn of cloth.
If your fabric frays a lot, it could help to zigzag or overlock the raw edge of the "wider" seam allowance before felling it.
I hope that was helpful. Please share any questions or comments below. :)
Comments
Post a Comment