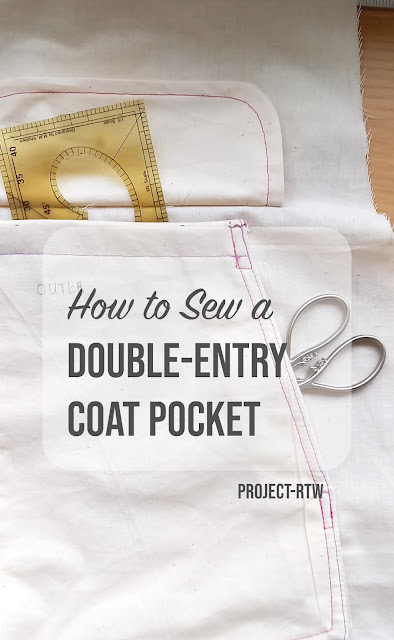
There are several kinds of double-entry pockets you'll find on coats and jackets. This one is suitable for lined coats and has plenty of room. If you are making a winter coat, you may wish to use a fleece or woollen fabric for the lining pieces, to keep your hands warm. I'm making a summer coat, so I'll be using a summer weight cotton for my lining pieces.
I figured out how to make this by examining my friend's winter coat (it's a man's coat, so naturally has many enormous pockets, unlike my ladies' winter coat which has tiddlly little ones...[grumble, grumble]).
The Pieces
- An outer layer
- A lining for the outer layer
- A facing for the outer pocket
- An inner lining that will be sewn onto the jacket body
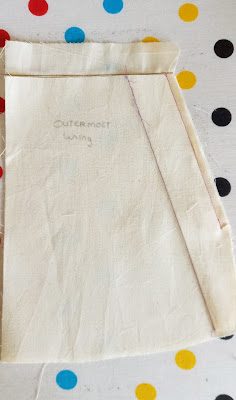
- A gusset (narrow hem one short end before you start)
- A flap (with its own lining, of course)
How to Make a Double-Entry Pocket for a Coat or Jacket
(photo-instructions)
Step 1. Sew the facing to the outermost lining
This is the layer that will lie against the outermost shell fabric. It will also be the layer that's against the back of your hand.
Sew the facing down as shown. Then flip it back along the stitch line and tack it down along the edges if desired.

Step 2: Sew the lining to the outer layer
Lay the lining piece you just prepared RS together onto the outer piece. Stitch along the slanted edge that will be the hand entry point. Stop at the seam line rather than going all the way to the edge. Stop with your needle down.
Step 3: Insert the gusset
This is shown away from the sewing machine for clarity.
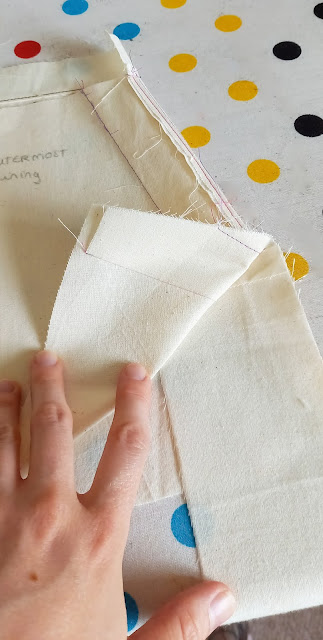
Lay the gusset between the two layers, with its hemmed edge butted up to your needle and raw edges matching. Stitch down to the corner and stop with your needle down. Snip into the gusset to near the needle. Pivot and repeat for the next corner.
When you get to the top corner, trim the gusset (if necessary) to 1cm beyond the top edge of the lining, and then it down 1cm to the lining side. Stitch to the end of the seam and backstitch.
Step 3: Topstitch and Edgestitch the gusset
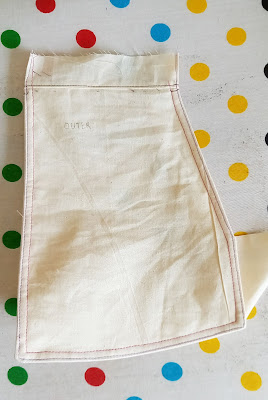
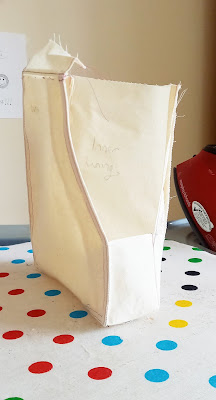
Turn it all RS out and topstitch 7mm away from the seam as shown.
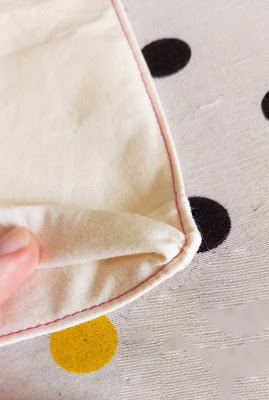
Now edge-stitch the gusset to the lining side of the unit, taking care at the corners. This helps give some structure to the pocket.
Step 4: Making and attaching the inner lining
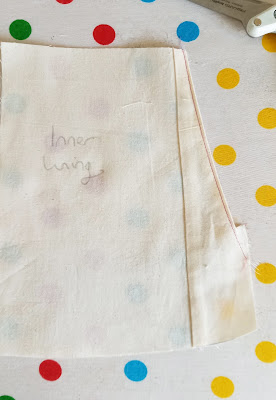
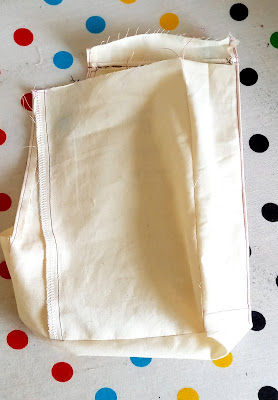
Fold the seam allowance of the slanted edge of the inner lining to the wrong side. Snip to the point where the gusset seam will start, and edge-stitch the fold down.
Sew the gusset to the inner lining in much the same way as you did step 3. Turn RS out and press.
Step 5: the pleats at the top
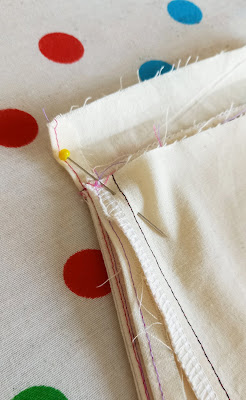
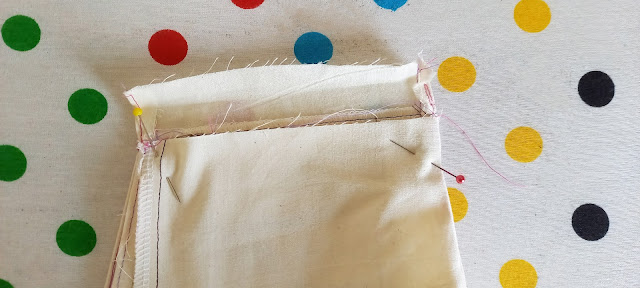
Pin the pleats in place at the top corners, keeping the inner layer slightly smaller than the outer one so that it doesn't show when worn.
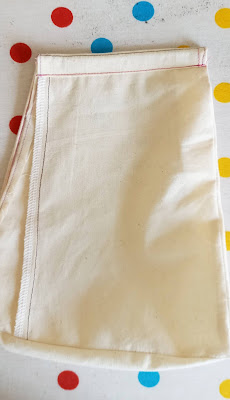
Turn the top edge down twice, enclosing the raw edges. Hem. The pocket is now ready to edge-stitch onto the coat.
Edge-stitch in place on the garment, all along the inner lining layer.
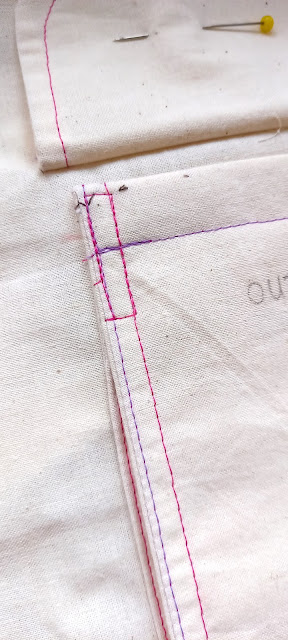
Sew a box at the top corners and the corner at the bottom of the slope to secure.
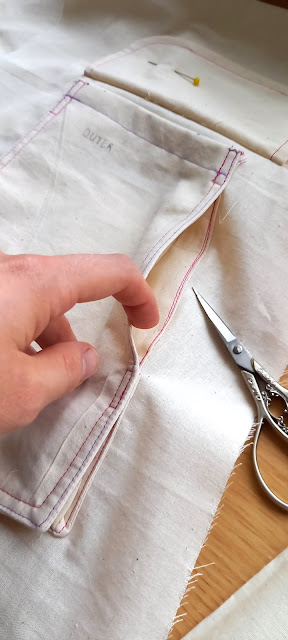
Shows how the innermost lining is stitched onto the body of the coat.

Two pockets sewn on with different styles of top-stitching. Add the flaps and you're ready for the next step in your coat.
Let me know if this has been helpful :).
This is shown away from the sewing machine for clarity.
Lay the gusset between the two layers, with its hemmed edge butted up to your needle and raw edges matching. Stitch down to the corner and stop with your needle down. Snip into the gusset to near the needle. Pivot and repeat for the next corner.
When you get to the top corner, trim the gusset (if necessary) to 1cm beyond the top edge of the lining, and then it down 1cm to the lining side. Stitch to the end of the seam and backstitch.
Step 3: Topstitch and Edgestitch the gusset
Turn it all RS out and topstitch 7mm away from the seam as shown.
Now edge-stitch the gusset to the lining side of the unit, taking care at the corners. This helps give some structure to the pocket.
Step 4: Making and attaching the inner lining
Fold the seam allowance of the slanted edge of the inner lining to the wrong side. Snip to the point where the gusset seam will start, and edge-stitch the fold down.
Sew the gusset to the inner lining in much the same way as you did step 3. Turn RS out and press.
Step 5: the pleats at the top
Pin the pleats in place at the top corners, keeping the inner layer slightly smaller than the outer one so that it doesn't show when worn.
Turn the top edge down twice, enclosing the raw edges. Hem. The pocket is now ready to edge-stitch onto the coat.
Edge-stitch in place on the garment, all along the inner lining layer.
 |
| Sew a box at the top corners and the corner at the bottom of the slope to secure. |
 |
Shows how the innermost lining is stitched onto the body of the coat. |
 |
Two pockets sewn on with different styles of top-stitching. Add the flaps and you're ready for the next step in your coat. Let me know if this has been helpful :). |




Comments
Post a Comment