- Get link
- X
- Other Apps
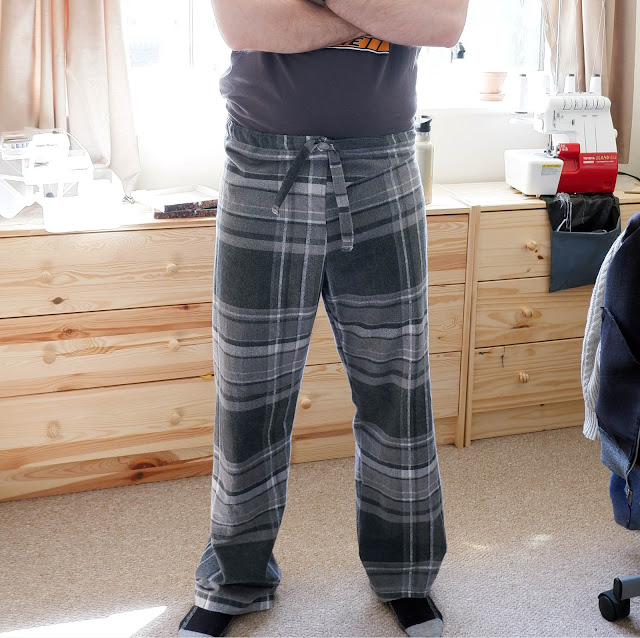
I sewed the toile this morning. And by "toile" I mean what are now Graham's new pj bottoms. They went together very quickly and easily.
How to sew them:
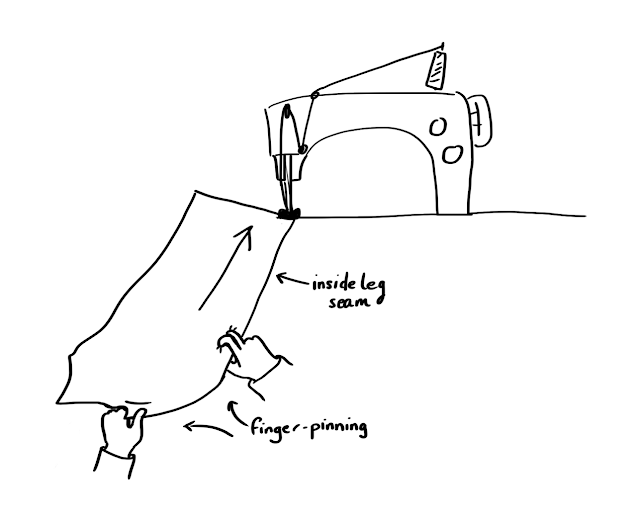
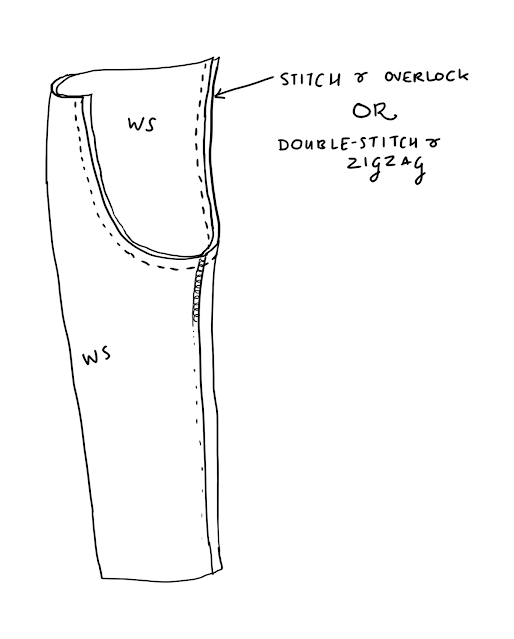
1. Take each leg separately and sew its leg seam, starting at the bottom of the leg.
- You don't need pins. Match the hem points and put under the machine.
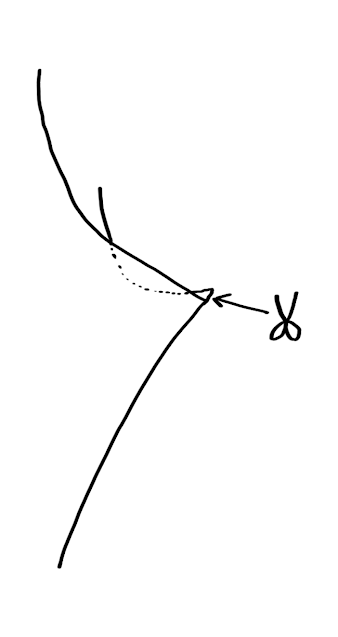
- With your hands, match the crotch point along the stitch line and snip the excess point off the front seam allowance. Hold this in one hand.
- With your other hand, "finger pin" the knees points together, i.e. halfway down the leg.
- Sew the seam, keeping raw edges even.
- Overlock or zigzag.
- Repeat with other leg.
2. Turn one leg inside out and put it inside the other leg, matching the crotch seam.
- Stitch, matching the crotch point.
- Overlock. If finished with a zigzag stitch, double-stitch the seam.
3. Make the waist tie:
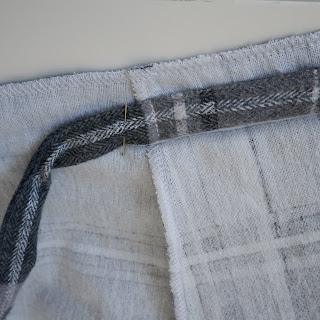
- Fold at one end thus:-
- Put it under the machine and start sewing, back-stitching to secure.
- After a few inches (about 4 cm), stop with the needle down and for the section in a few inches down in the same way Sew.
- Repeat until you get to the end, then backstitch.
- Hem the ends, securing well.
4. Make buttonholes 2.5cm (1") long, 1cm each side of the CF seam.
5. This bit is easier if you overlock or zigzag the raw edge of the waist first.
- Fold the raw edge of the waistline down 5 cm towards the WS.
- Edge-stitch the fold 3mm from the edge. This makes sewing easier and makes the trousers sit better when worn.
- Sew the tie centred to the CB waist to stop it from being pulled out.
- Turn the raw edge under 1cm and edge-stitch it down, encasing the tie. Before you finish this bit, make sure you thread the tie through the buttonholes to the outside.
 |
6. Hem the trousers. There is a 3 cm hem allowance, but they are long. Turn under 1.5 cm twice and ES down. Can be increased to 5 cm or the trousers can be cut shorter if being made for a shorter person.
For meterage you will need the trouser pattern length plus a a little bit in case the fabric length is cut inaccurately.




Comments
Post a Comment